With OpenFlow 1.5, Node-RED no longer has its own menu item. Instead, you can start a Node-RED instance from the Agent’s menu item. Here’s how:
- Click “Add Agent”
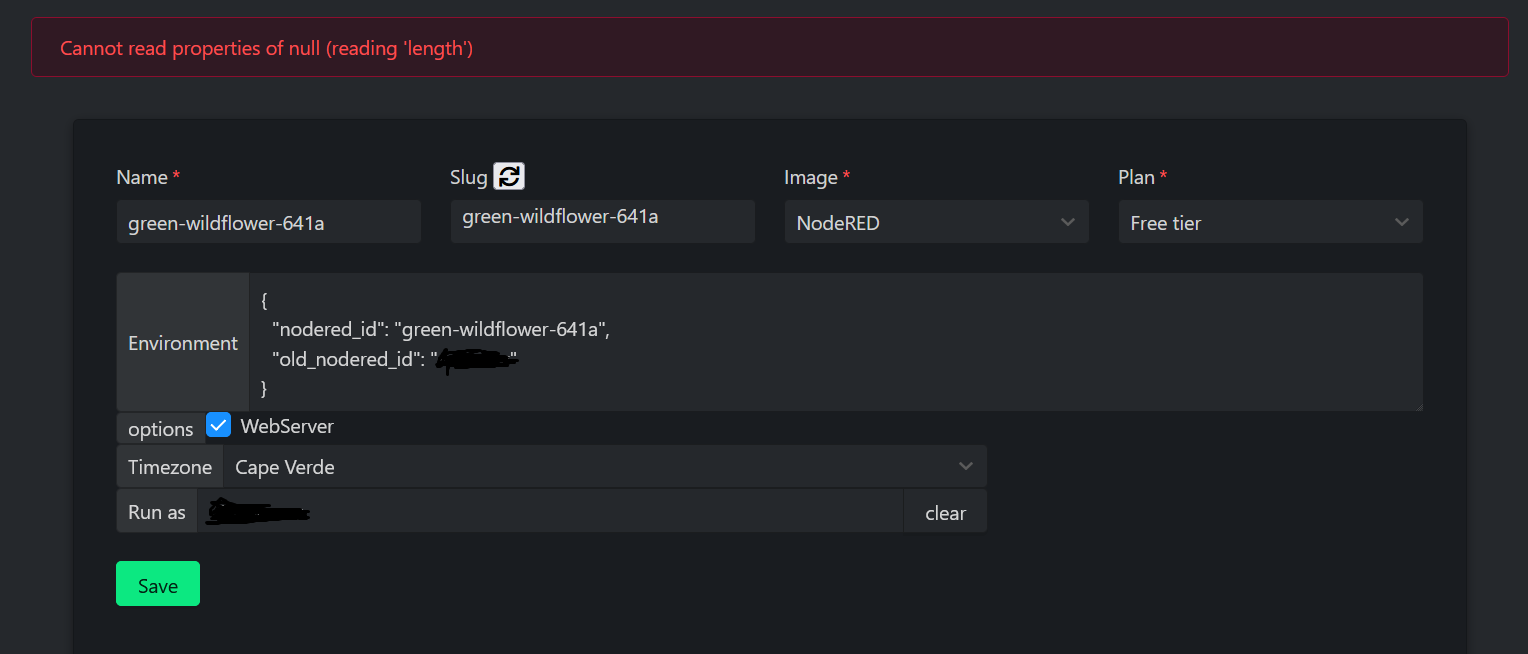
- Name: This is the name you will see while looking at the Agents tab.
- Slug: This is used for creating the URL to the Node-RED instance.
- Image: Select Node-RED from the list of available images.
- Plan: If you’re using the free tier, your Node-RED instance will be turned off after 8 hours. You can go to your customer page and purchase a quote for agents in different sizes if you need an agent that does not turn off after 8 hours or if you need more RAM.
In the old days, a Node-RED instance was personal, so it made sense to tie the Node-RED ID and URL to your user. Now, you can easily run multiple Node-RED instances as the same user, with either the same workflow or different workflows. This is why we needed a new way to create URLs, and that’s what slugs are for.
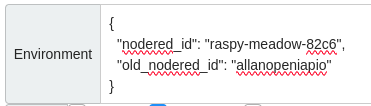
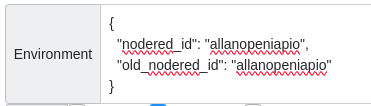
By default, the Node-RED ID will be the same as the slug name. However, if you want to start a Node-RED instance with your old workflow, you can edit the “nodered_id” environment variable to match your old username without the special characters. This way, your new Node-RED instance will load the old workflow. You can see your old id, in the old_nodered_id so simply copy this to nodered_id. Make sure to press Save to make the change take effect.
to
Now, when you click this icon, you can see your new nodered.

If you’re not sure about the nodered_id, go to Entities, select “nodered” from the dropdown list, then click on one of the Node-RED entities. You will be able to see the nodered_id on all of them.